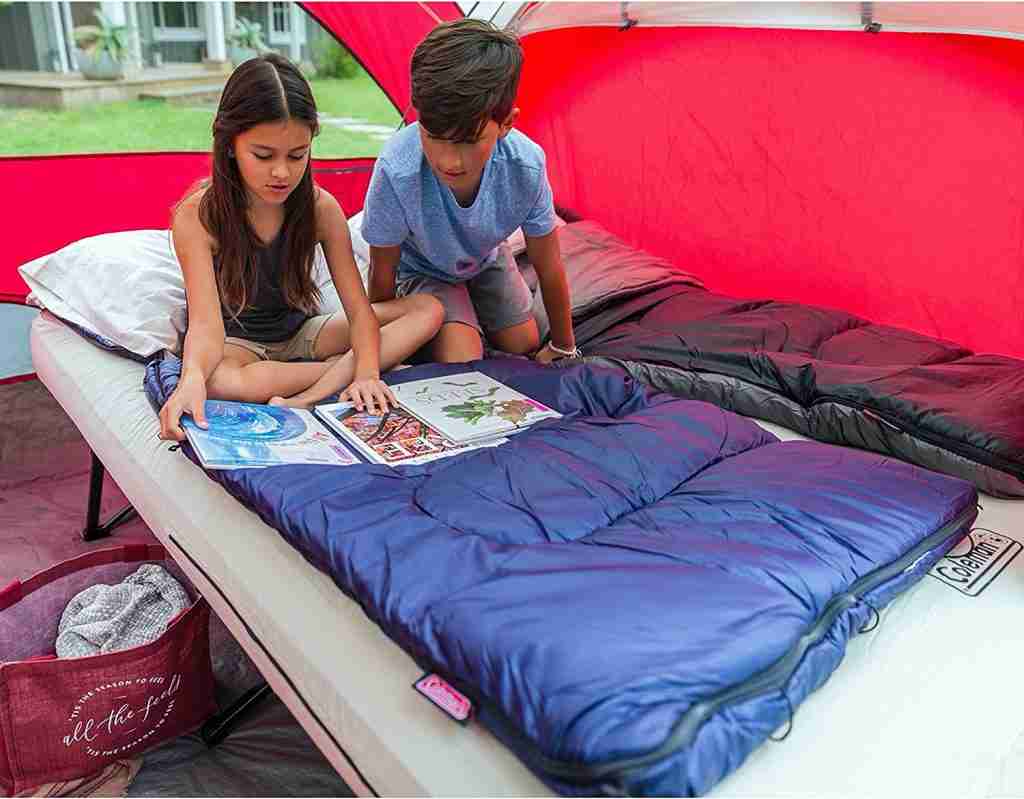
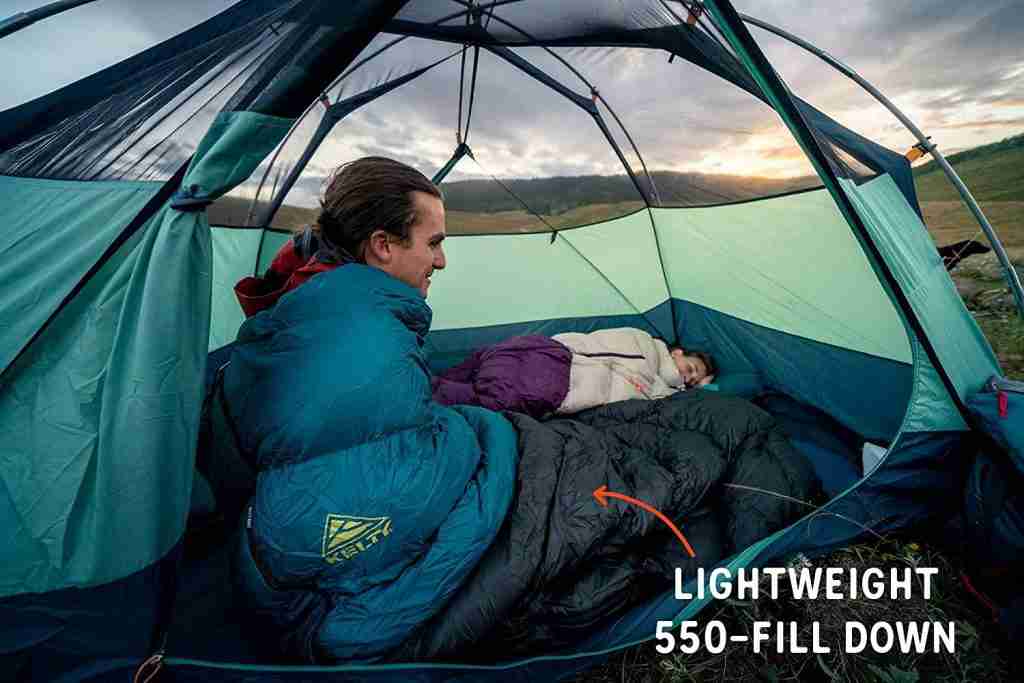
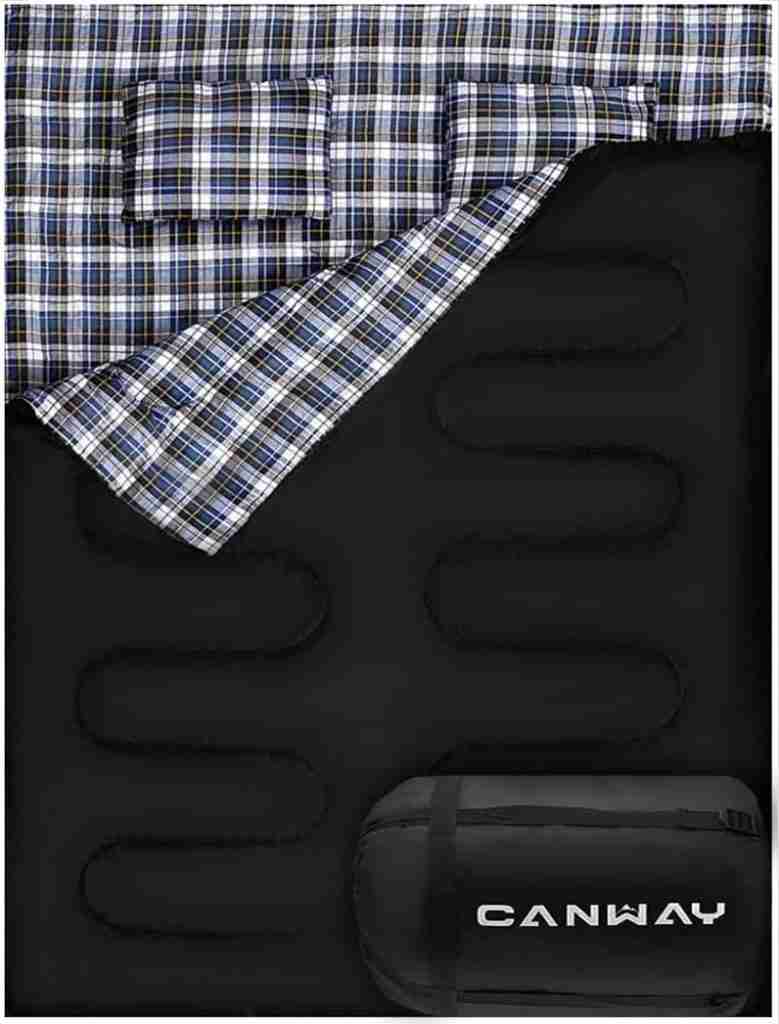
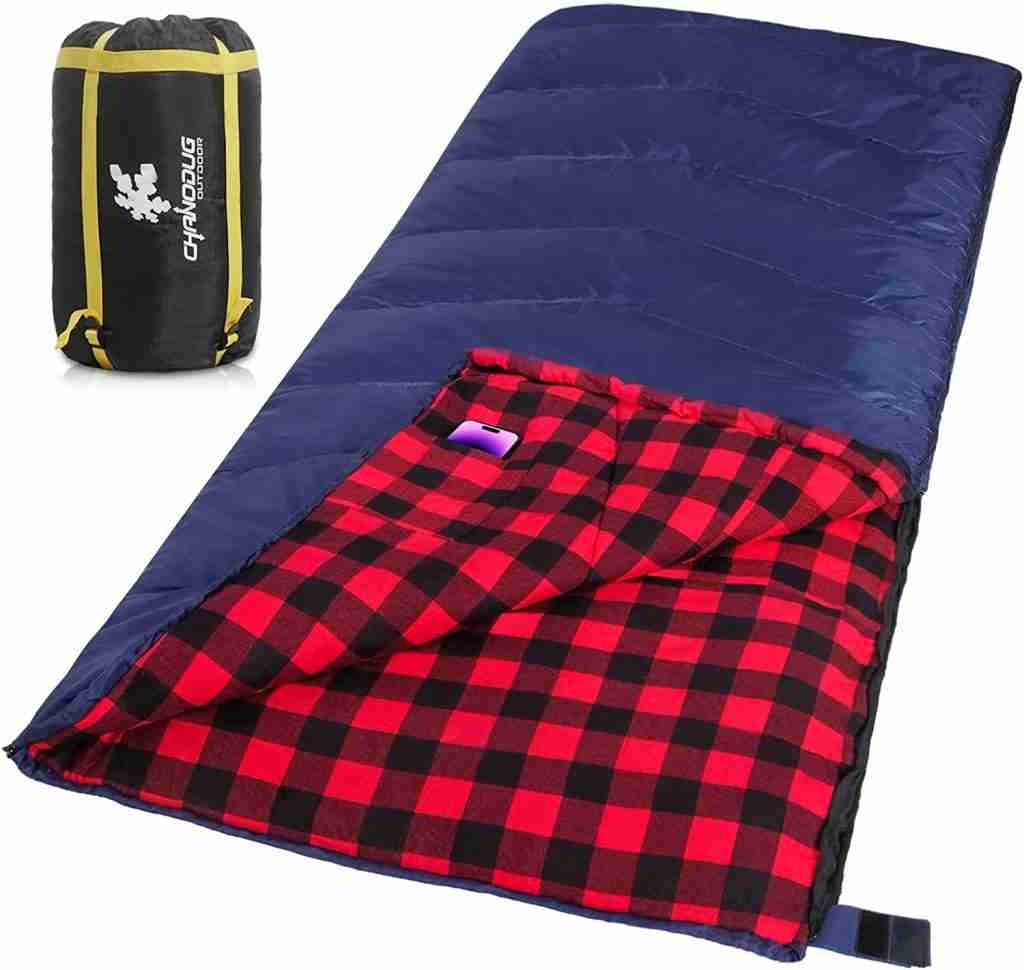
How to make a sleeping bag out of blankets can be achieved in diverse ways.
You can simply wrap the blanket, around your legs and body, and tuck them securely under your feet or you can choose to do the more complicated approach of stapling and sewing till you get the tube-like shape of what you can comfortably call a sleeping bag.
Meanwhile, a sleeping bag is a cylindrical shaped or tube-like shaped bag, used for sleeping especially when in a camp or any other outdoor event.
Table of Contents
HOW TO MAKE A SLEEPING BAG OUT OF BLANKETS

Below, you will find the 8 easiest ways how to make a sleeping bag out of blankets:
Step 1: spread your blanket on the floor. Make sure that there are no bumps underneath to get a smooth flat spread. The outcome is a square-shaped smooth spread with 4 corners.
Step 2: Get 2 oversized safety pins.
Step 3: Carefully sit at the center of your spread-out blanket. You can lay the pins beside the blanket for easy reach.
Step 4: Cross the blankets over. Hold the blanket by the edges, (the left end beside your feet and the right upper end towards where you would normally lay your head ) and cross them over each other on top of your legs. Your feet should be tucked securely underneath the crossovers. But make sure that there is some room for your toes to breathe. The outcome is two folds on top of your legs.
Step 5: Take the third edge by your right, just beside your right foot, and place it on top of the two folds.
Step 6: Now that you have just 3 neat folds atop your feet, get one of the oversized safety pins and pin together all three layers.
Step 7: There might be an opening around your feet after you’ve pinned together the three-layered flaps on top of your legs, hold together the opening and carefully pin it closed with the second safety pin.
Step 8: Lie down and cover your chest with the leftover blanket. This if properly done, is what should have been the 4th edge of the blanket, by your left towards where you would lay your head.
By following these steps you would have done a makeshift sleeping bag and you will be secure from all manner of insect bites.
RELATED: HOW TO MAKE SLEEPING BAG WARMER
RELATED: HOW DOES A SLEEPING BAG KEEP YOU WARM?
HOW DO YOU MAKE A SLEEP SACK OUT OF A BLANKET?
How to make a sleep sack out of a blanket can be achieved in any of the following ways:
Staple method: In the staple method, you can fold your blanket into your desired shape, then staple it together with a pin or a stapler. This is a makeshift method and can easily be achieved on the spur of the moment.
Spread your blanket carefully on the floor.
Fold them equally into two. The angles from which you will decide to fold are highly dependent on the height of the person using the sleep sack.
Folding from the width, will make the size shorter and wider but folding from the length will make the sack longer and thinner.
After you’ve folded the blanket into two equal sizes, fold gently the base of the blanket around the foot area and staple them together.
Hold the sides, where the two vertical folds meet, and also a staple. You can decide to staple in 3 to 4 places to minimize the holes in between.
Viola! You can slip your feet from the open top and there you go!
SEWING METHOD – HOW DO YOU MAKE A SLEEP SACK OUT OF A BLANKET?
Sewing Method: This can take longer than the staple method.
Fold the blanket into two equal parts and cut them into two.
Cut out a clean fluffy material from a clean rag or a condemned sweater and lay it aside. The cut should be done in a U shape.
Place the two pieces of blanket on top of each other and stitch them together in two straight lines.
The aftermath will be a cylinder-shaped blanket with two openings. One at the top and another at the feet.
Place the U-shaped fluffy cut out towards the feet area and stitch closed. This is to create enough room for your feet and also a soft feel for your feet.
You can easily slip into your sleep sack from the top. You can attach a zip by the sides so it’s easier to open, slip in, and zip closed.
WRAP-ROUND METHOD – HOW DO YOU MAKE A SLEEP SACK OUT OF A BLANKET?
Wrap Round method: This method is mostly inefficient and can easily flip open when the wearer is turning in his sleep.
Here, you can wrap the blanket securely around your body, make a large fold at your feet and tuck the fold carefully under your feet. It’s best for mature men who can maintain a single position till morning.
CAN YOU USE BLANKETS INSTEAD OF A SLEEPING BAG?

Most definitely yes because It’s easier to maneuver your sleeping position with blankets than with sleeping bags. However, using a blanket will expose you to more discomfort.
This is because, the blankets can flip open while you are asleep and if the initial intention was to prevent yourself from insect bites, this aim would have been defeated.
Blankets are best used when one is fully clad so that even though it flips open while you are asleep, you will still be to a great extent, shielded from the risks that come with unwanted body exposure.
HOW TO MAKE A SLEEPING BAG OUT OF A COMFORTER?
Let’s begin by explaining what a comforter is. A comforter is a soft and fluffy duvet used as a bedspread or blanket for sleeping.
Making a sleeping bag out of a comforter is quite simple.
Spread out the comforter on your bed.
Measure out the size of the sleeping bag being designed. You can use tape to achieve this.
Cut the comforter into two based on your measurement. The result will be two unequal halves. A smaller half and larger half.
Normally, the edges that have been cut, will be rough. Fold the rough edges of the smaller half and sew neatly. The result is to avoid future tears from the rough edges.
Fold the smaller half into two equal halves and sew them together. Make sure to close up all openings. The sewing should be in three places, a long horizontal stitch that holds together the two folded halves and two shorter vertical stitches by the sides.
You can decide to stuff the smaller half with materials like wool, or cotton, to make it fluffier and pillow-like before sewing it closed.
Fold the larger half into two, make sure the folds are large enough to contain the wearer, and sew closed. Fold the feet neatly and sew them closed.
The top should be left open for easier access to the sleeping bag. You can fold the edges and sew neatly, this is not compulsory, however.
DIY WINTER SLEEPING BAG

Winter sleeping bags should keep you as warm as possible. In preparing a sleeping bag for winter, one thing that should go alongside your sleeping bag is the sleeping bag liner.
Get a plain cotton material or a silk material.
Fold the material into a tube-like shape from the middle.
You can easily achieve this by laying it on the bed, dropping a pillow at the center of the spread-out material, and wrapping the material loosely around the pillow and way up above the pillow.
Tie the neck of your tube-shaped cotton material securely so that you don’t lose the shape. Leave out the mouth, ie. the opening that leads one into the tube silk.
Get a needle and thread. Make large folds around the mouth of the tube and stitch loosely, ensuring that the folds are such that allow for things like broomsticks and tiny threads to pass through.
Get an elastic rope, and pass the thread through the stitches you’ve made at the mouth of your tube.
The result should be two ropes, one at the beginning of the fold from where you first passed the rope, and another and the end where the rope bursts out.
Untie the rope at the neck of the cotton tube.
If these steps were properly followed the result should be a tube-like cotton bag with two adjustable ropes at the mouth.
This can suffice for your sleeping bag liner.
It’s advisable to use a comforter for your sleeping bag for winter. This is because of the warmth and heat it radiates when wrapped around your body.
Follow the aforementioned guidelines on how to create a sleeping bag from a comforter.
Once this is done, carefully place your sleeping bag liner inside the larger sleeping bag. You can crawl in there and you can have that peaceful warm sleep you’ve always craved for.
DIY DOWN SLEEPING BAG

Step 1: Get ready all the materials you will need for the sleeping bag. Materials include a sewing machine, lots of fluffy down, a sleeping bag, measuring tape, and a zipper.
Step 2: Cut the sleeping bag into tiny multiple horizontal lines, you can measure out in centimeters with your tape. 10 centimeters or more depending on how big you want the bag to be for the chest, stomach, and hips area, 8 or 7 centimeters, around the legs, and 5 to 4 centimeters towards the feet. Each cutout should have a twin.
In other words, if 20 cutouts arranged head to feet will be enough to contain you, these 20 should be duplicated into 40.
Step 3: Lay out the cutouts neatly and horizontally beside each other. Carefully cut open each cutout, stuff it neatly down and sew firmly closed. Repeat this action till all your cutouts have been stuffed down. You might need to take a break after this to relax your muscles a bit.
Step 4: Sew the already stitched cutouts stuffed down together with your sewing machine. This action might be time-consuming and it takes patience to achieve your down sleeping bag. You can use multi colors to achieve a more beautiful design.
Step 5: Remember that each cut-out has a twin. Therefore, repeat steps 3 and 4 for the twin cutouts.
Step 6: You will have two similar halves of different materials stuffed down and sewn together to form a whole. Place these two halves on top of each other and run the machine on one of the sides and the feet area.
Step 7: Get your zipper, attach carefully on the other side and sew it in then run your machine on the remaining side.
Step 8: Carefully fold out from the open area at the top.
You have yourself a cylinder-shaped down bag with an opening at the top and zip by the side.
DIY SLEEPING BAG COVER
The first thing to note when trying to make a sleeping bag cover is the choice of material.
Sleeping bag covers should be made of waterproof materials. You won’t want water seeping into your bags and making you very uncomfortable afterward.

You can convert old duffel bags into your sleeping bag covers. Let’s see how to achieve this.
Step 1: Get your old duffel bag, get scissors, and a stitcher, it could be a sewing awl, a sewing machine, or any sewing gadget you are most familiar with.
Step 2: Cut out the zips from the bag and remove the straps and handles as well.
Step 3: Add an extension to the duffel bag. This can be achieved by cutting out polyester materials and stitching them on top of the bag, around where the zip was initially supposed to be. The aim is to make the bag longer.
Step 4: reattach the zip at the top of the bag where you have added the extension.
Step 5: Fold neatly your sleeping bag and put it inside the make-shift bag cover, the long straps can be tied horizontally around the bag cover and there you go.
DIY SLEEP SACK FOR ADULTS

The best way to achieve a perfect-sized sleep sack for an adult is by creating the bag while you are in it. Now, how can this be done?
Step 1: Get a fluffy bedspread, blanket, or comforter.
Step 2: Spread neatly on your bed or on your floor.
Step 3: Get your sewing awl and lay it gently beside you for easy reach.
Step 4: Sit at the center of your spread-out material
Step 5: Cross over loosely, the materials over each other on top of your legs, and the result is two flaps on your legs. Pinch the edge of the material, around your feet, and cross loosely on top of the already existing two flaps on your legs.
Did you notice I kept repeating loosely in step 5? This is because while you are trying to create a sleep sack, you should take cognizance of the fact that you will need some room so that the sack is not too tight and uncomfortable for you.
Step 6: Get your sewing awl, and stitch neatly the three flaps on top of your legs.
Step 7: Climb out carefully from the opening at the top and fold the sack from inside, and out. This is to conceal the stitches you have made.
There you go! Sleeping sack ready for use.
HOW TO MAKE A DOUBLE SLEEPING BAG

Here are simple steps on how to make a double sleeping bag for you and your partner using 2 blankets.
Step 1: Get 2 large blankets.
Step 2: Lay them side by side on top of your bed or on the floor.
Step 3: Get a measuring tape and divide the first blanket into two equal parts. You can pin the middle of your division with a safety pin or mark it with chalk so that you don’t forget where the center is.
Step 4: Repeat the same action for the second blanket.
Step 5: Place the two blankets on top of each other and run a straight line at the center of the two blankets with your sewing awl. Remember to follow the spot where you’ve marked with your chalk when stitching.
Step 6: You will have two blankets placed on top of each other, but sewn together only at the center. Fold the edges together and run a straight line on each side using your sewing awl. Be careful with your stitching as the stitched part will be the exposed part of your sleeping bag.
Step 7: Fold the foot area neatly and run the straight line across the blankets.
The result will be two sleeping bags with a straight demarcation in the middle.
It’s easier to lie and face your partner for a cozy discussion during bedtime.
QUILTED SLEEPING BAG PATTERN

The quilted pattern can either be multi-colored or single-colored. Here, the bag is designed to appear in many cutouts sewn together to form a whole.
An easy way to achieve the quilted pattern in a single color is by running your sewing awl, in multiple horizontal lines on the body of your sleeping bag fabric.
Carefully measure out how the sleeping bag in inches, this will help you be consistent in your spacing.
You could do 6 inches of spacing. With your tape, measure out 6″ and make a mark so you don’t mistake the spot, run your awl down, horizontally, you can repeat this action till the end of the bag.
You can attach shiny materials to each line you’ve created with your awl to give it a beautiful and feminine touch.
CONCLUSION
Sleeping bags are not just for camping alone. They are most relevant during extremely cold weather that’s why it’s advisable to wear clothes while in a sleeping bag.
To keep warm, especially in winter, get a sleeping bag liner.
Also, not all sleeping bags are designed to be open at the top. You can decide to add or attach a hood or fluffy flap that can be closed and opened at will.
Old sleeping bags that are no longer in use can be converted into storage bags for napkins, stockings, or even clothing.
